Building a Raspberry Pi AIS Antenna with a dAISy HAT
This is a step-by-step guide to setting up a Raspberry Pi AIS antenna using the dAISy HAT and Raspberry Pi 4. With an antenna like this you can join an antenna network like AISHub to get wider AIS data coverage.
Required Hardware
To begin, you'll need the following:
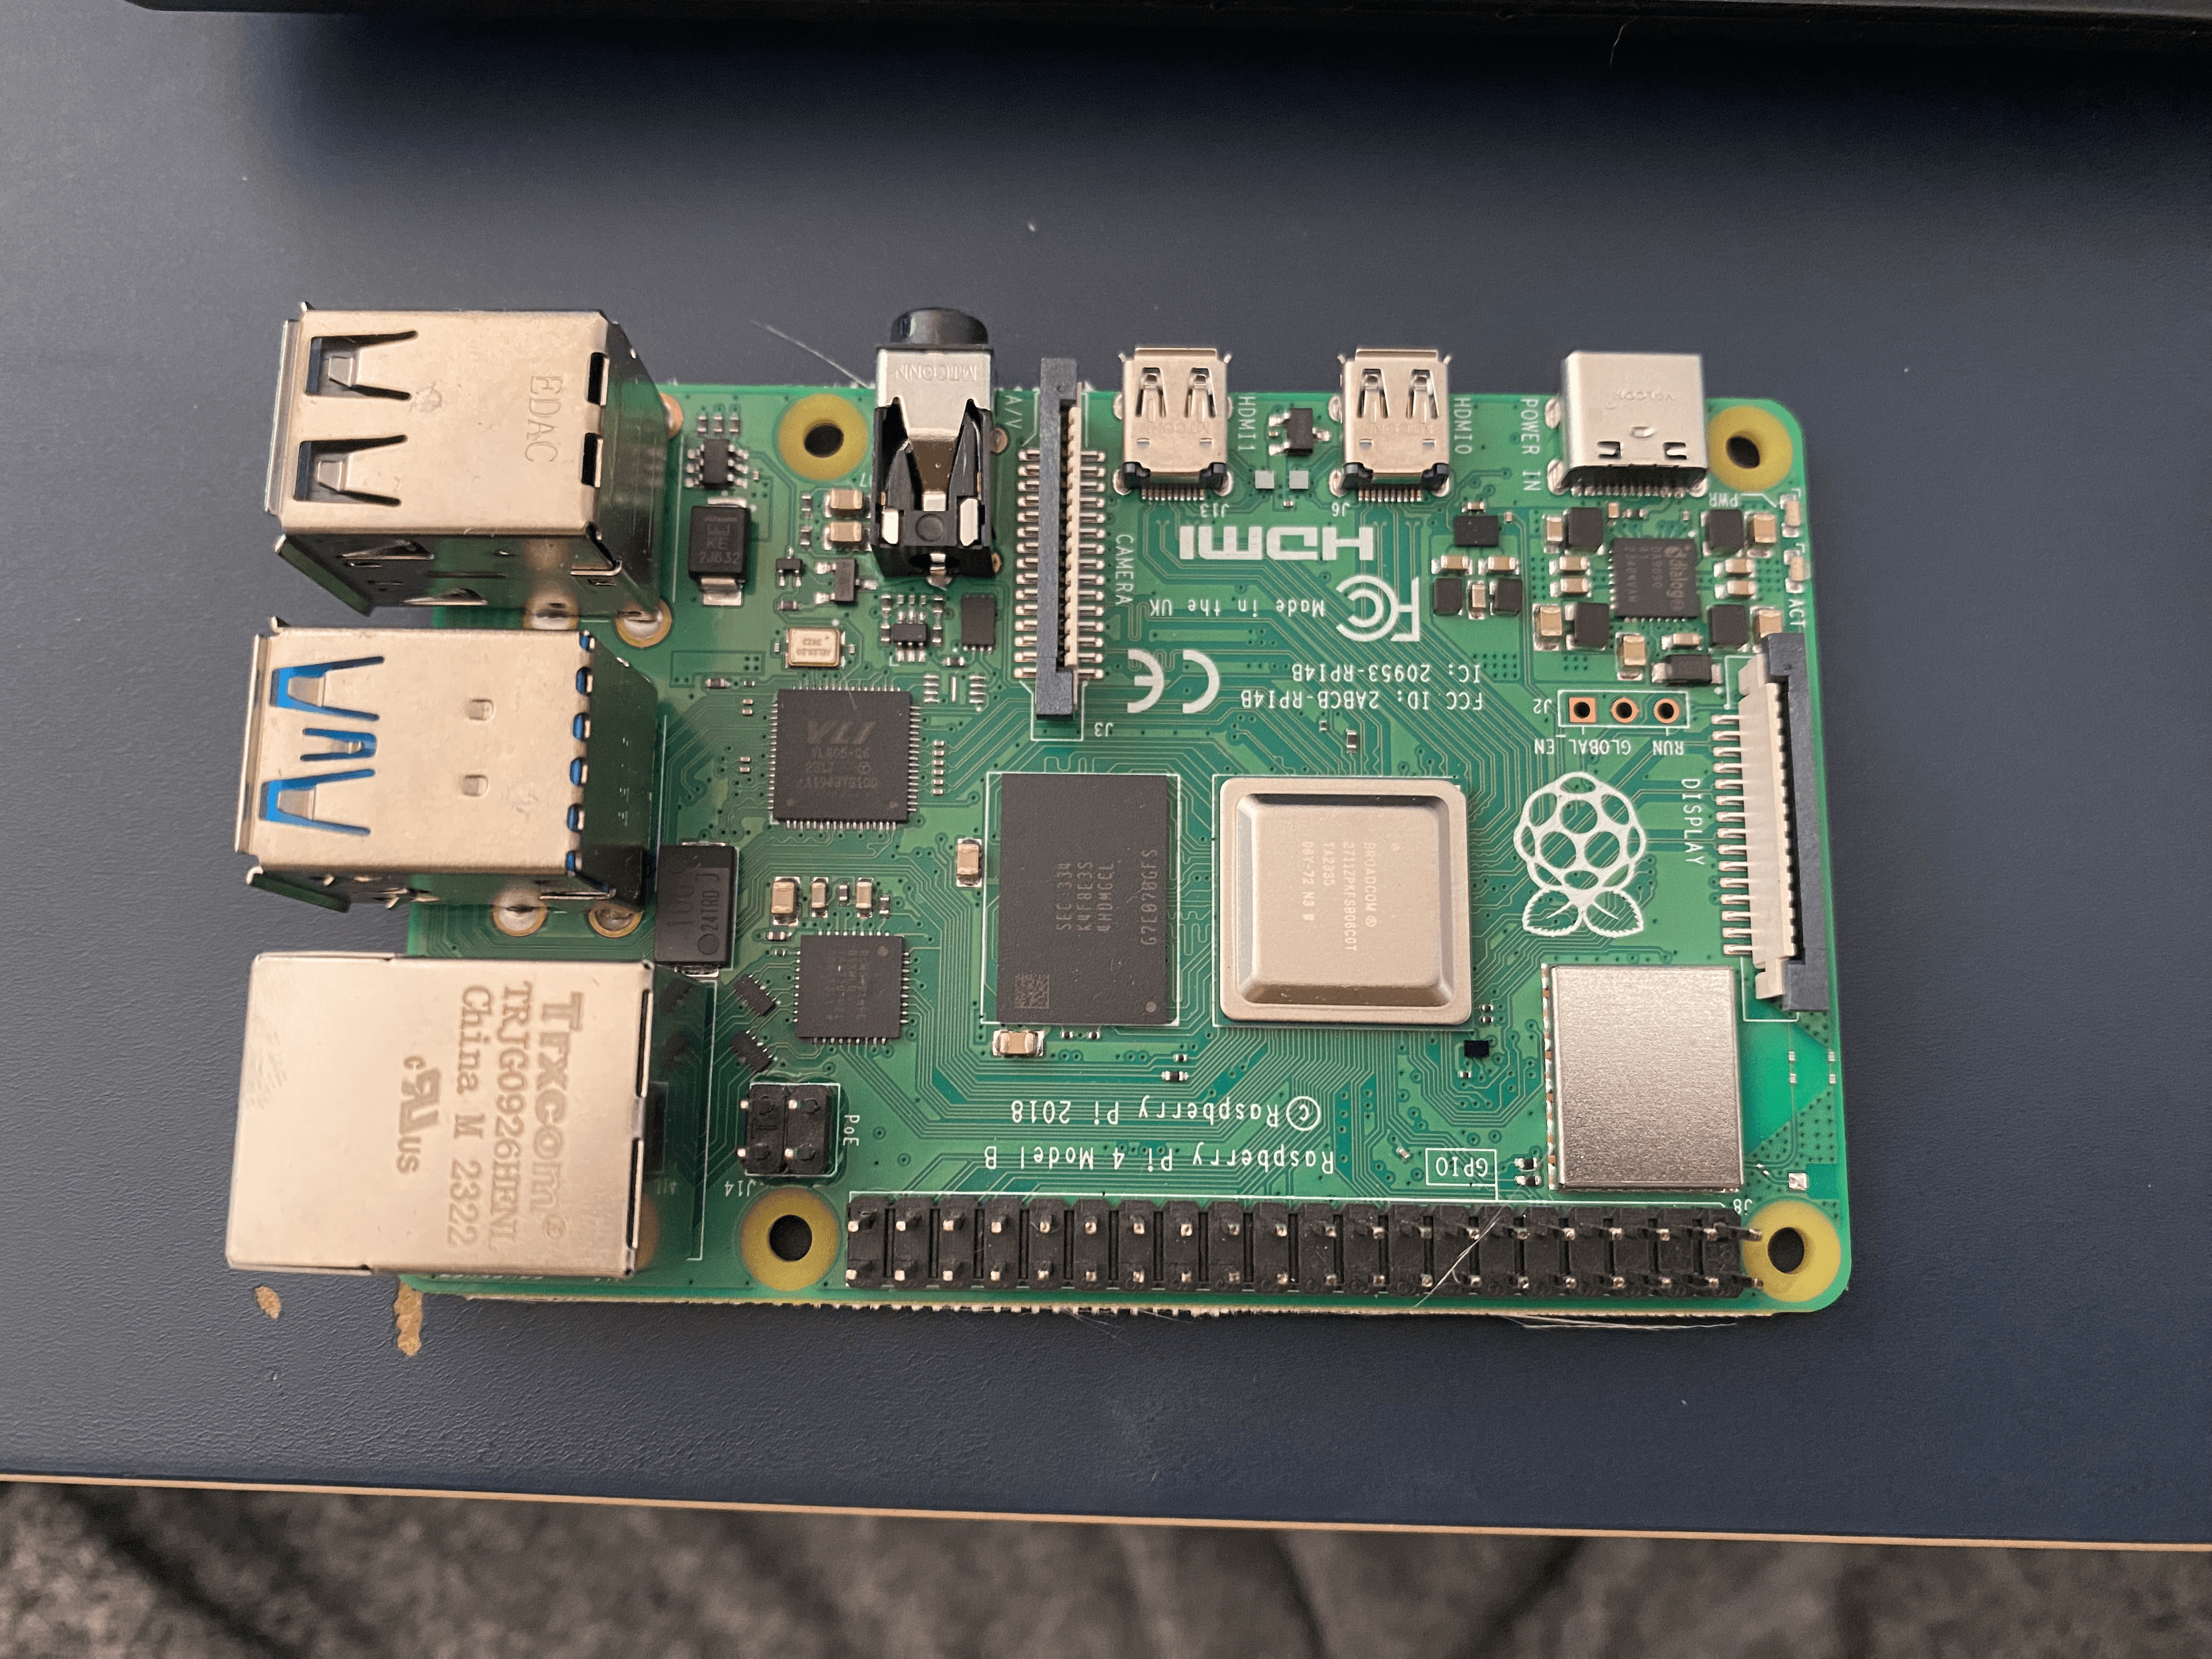
- Raspberry Pi 4 Model B
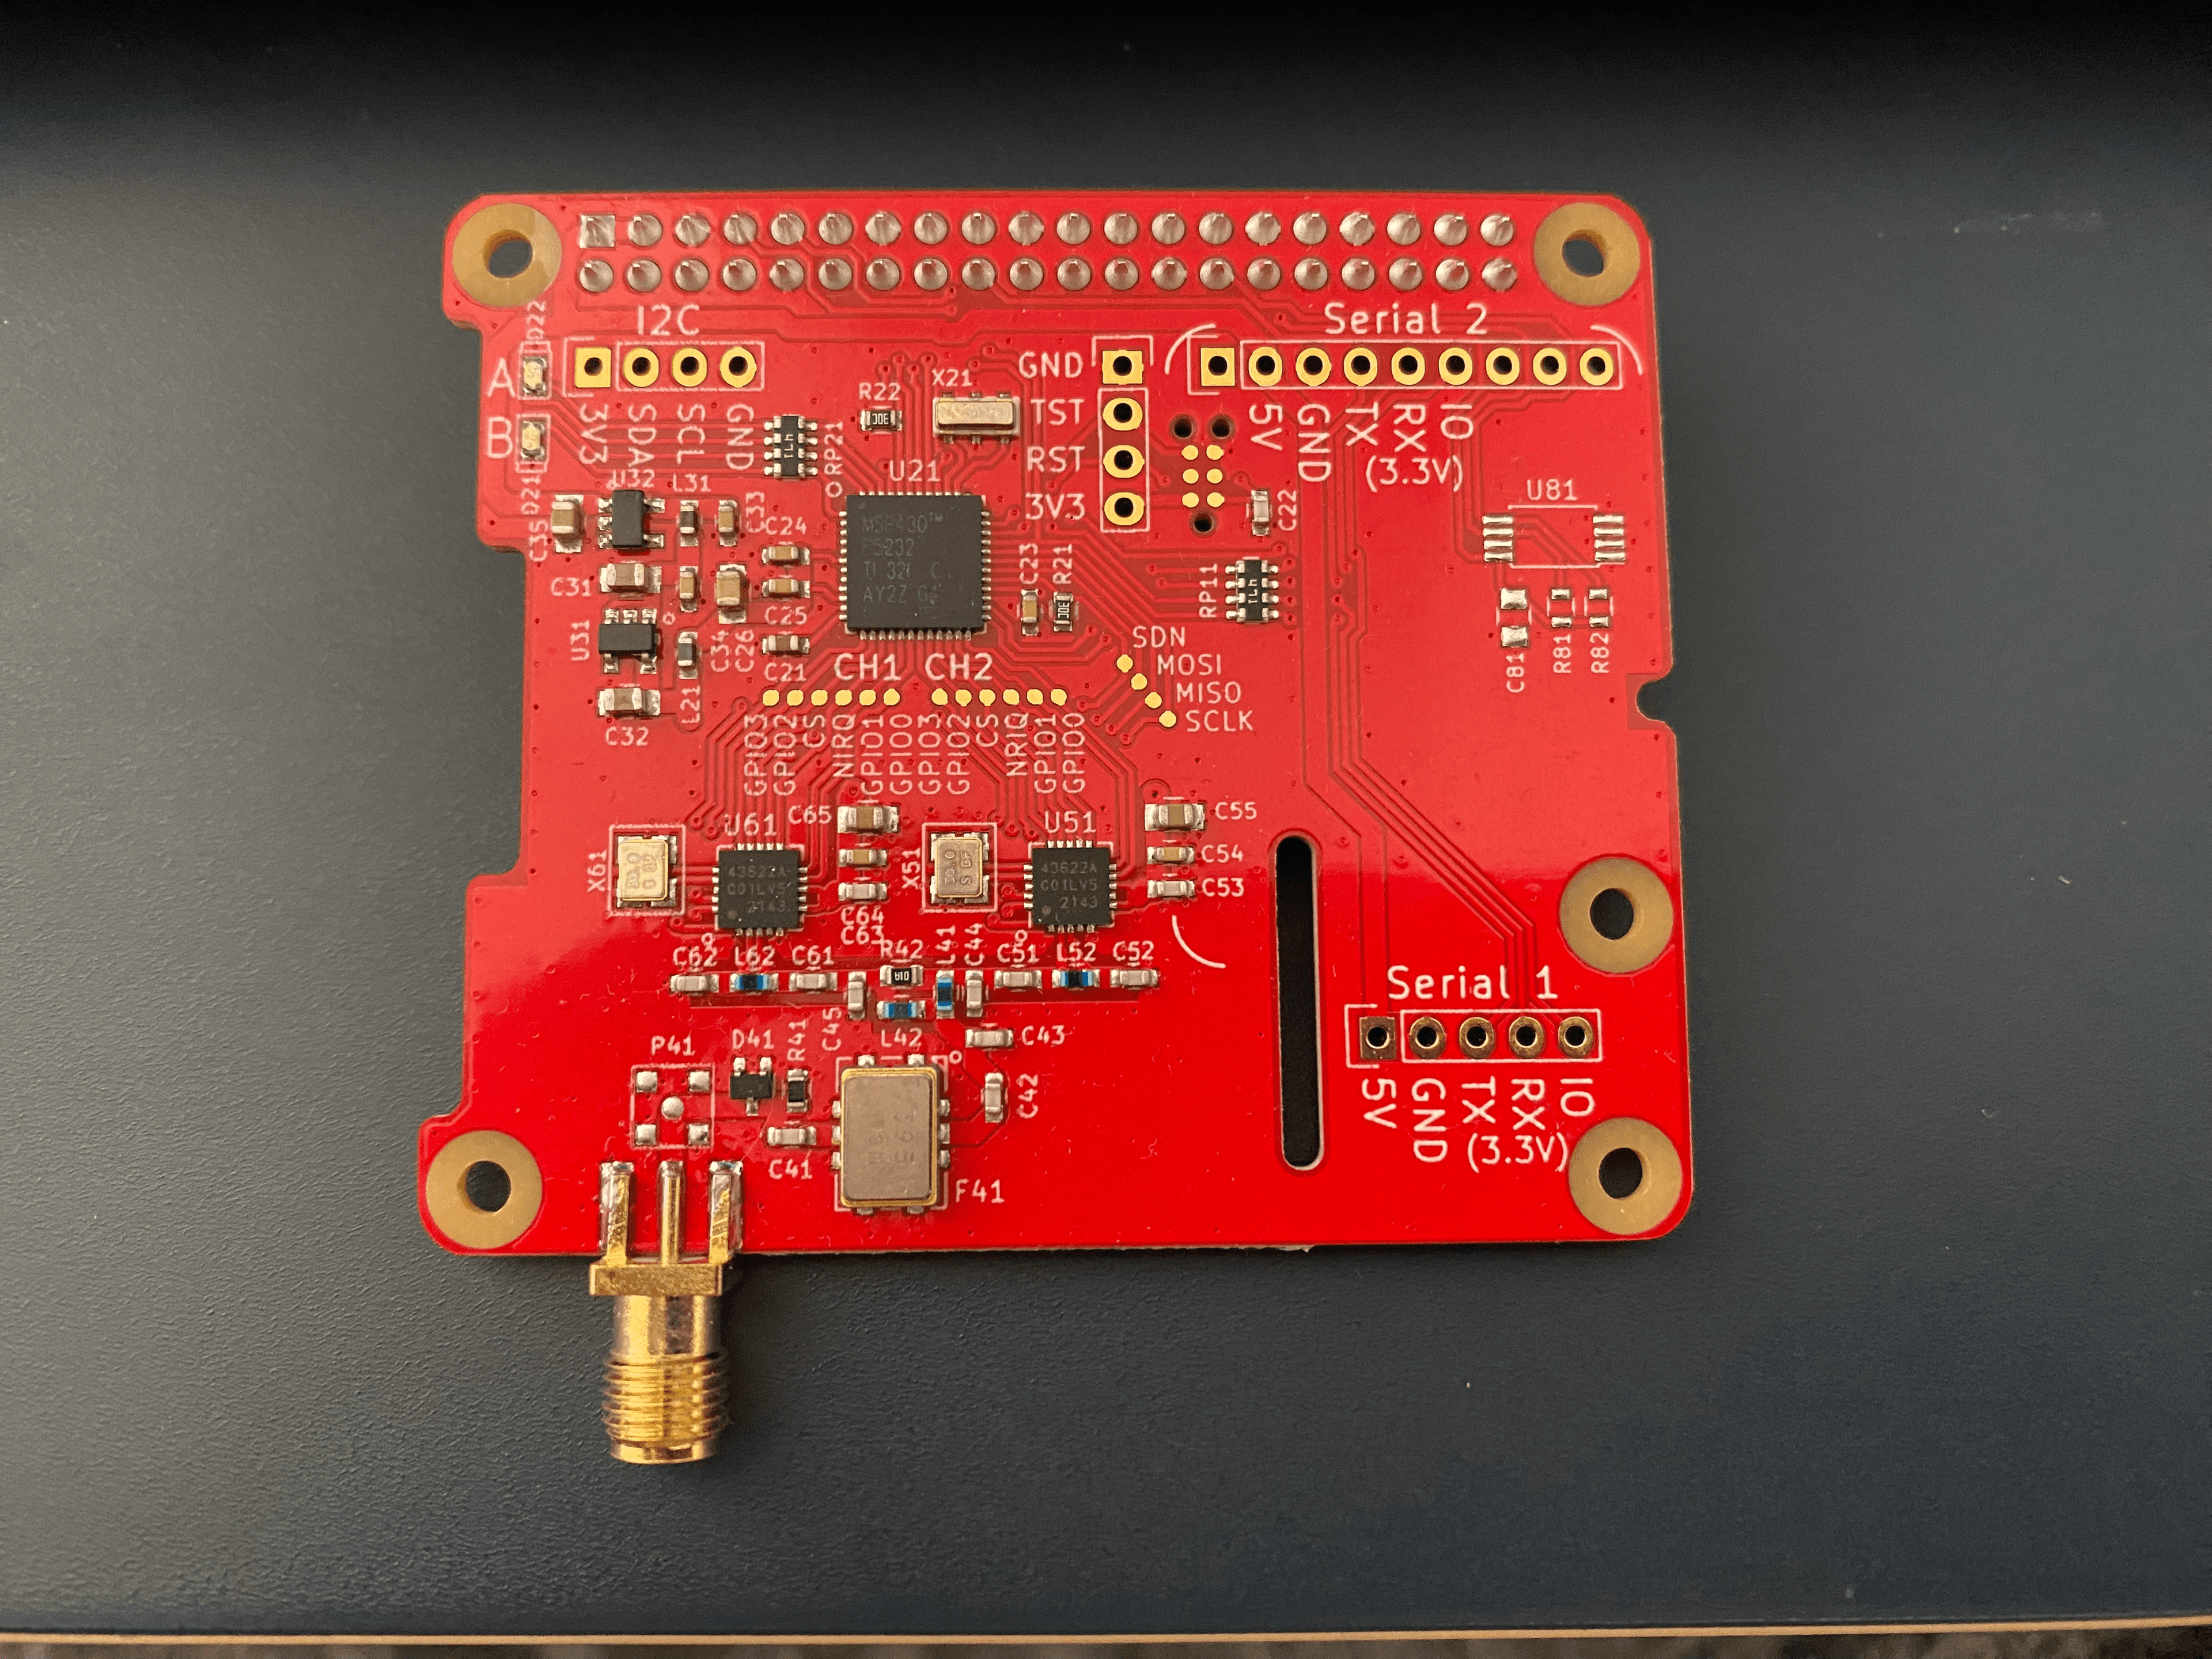
- dAISy HAT - From Wegmatt
- Antenna - I used this one but any antenna in this frequency range should work.
- Adapter cable - I used the SO-239 to SMA pigtil cable from Wegmatt (link above)
- Power supply
- Micro SD card
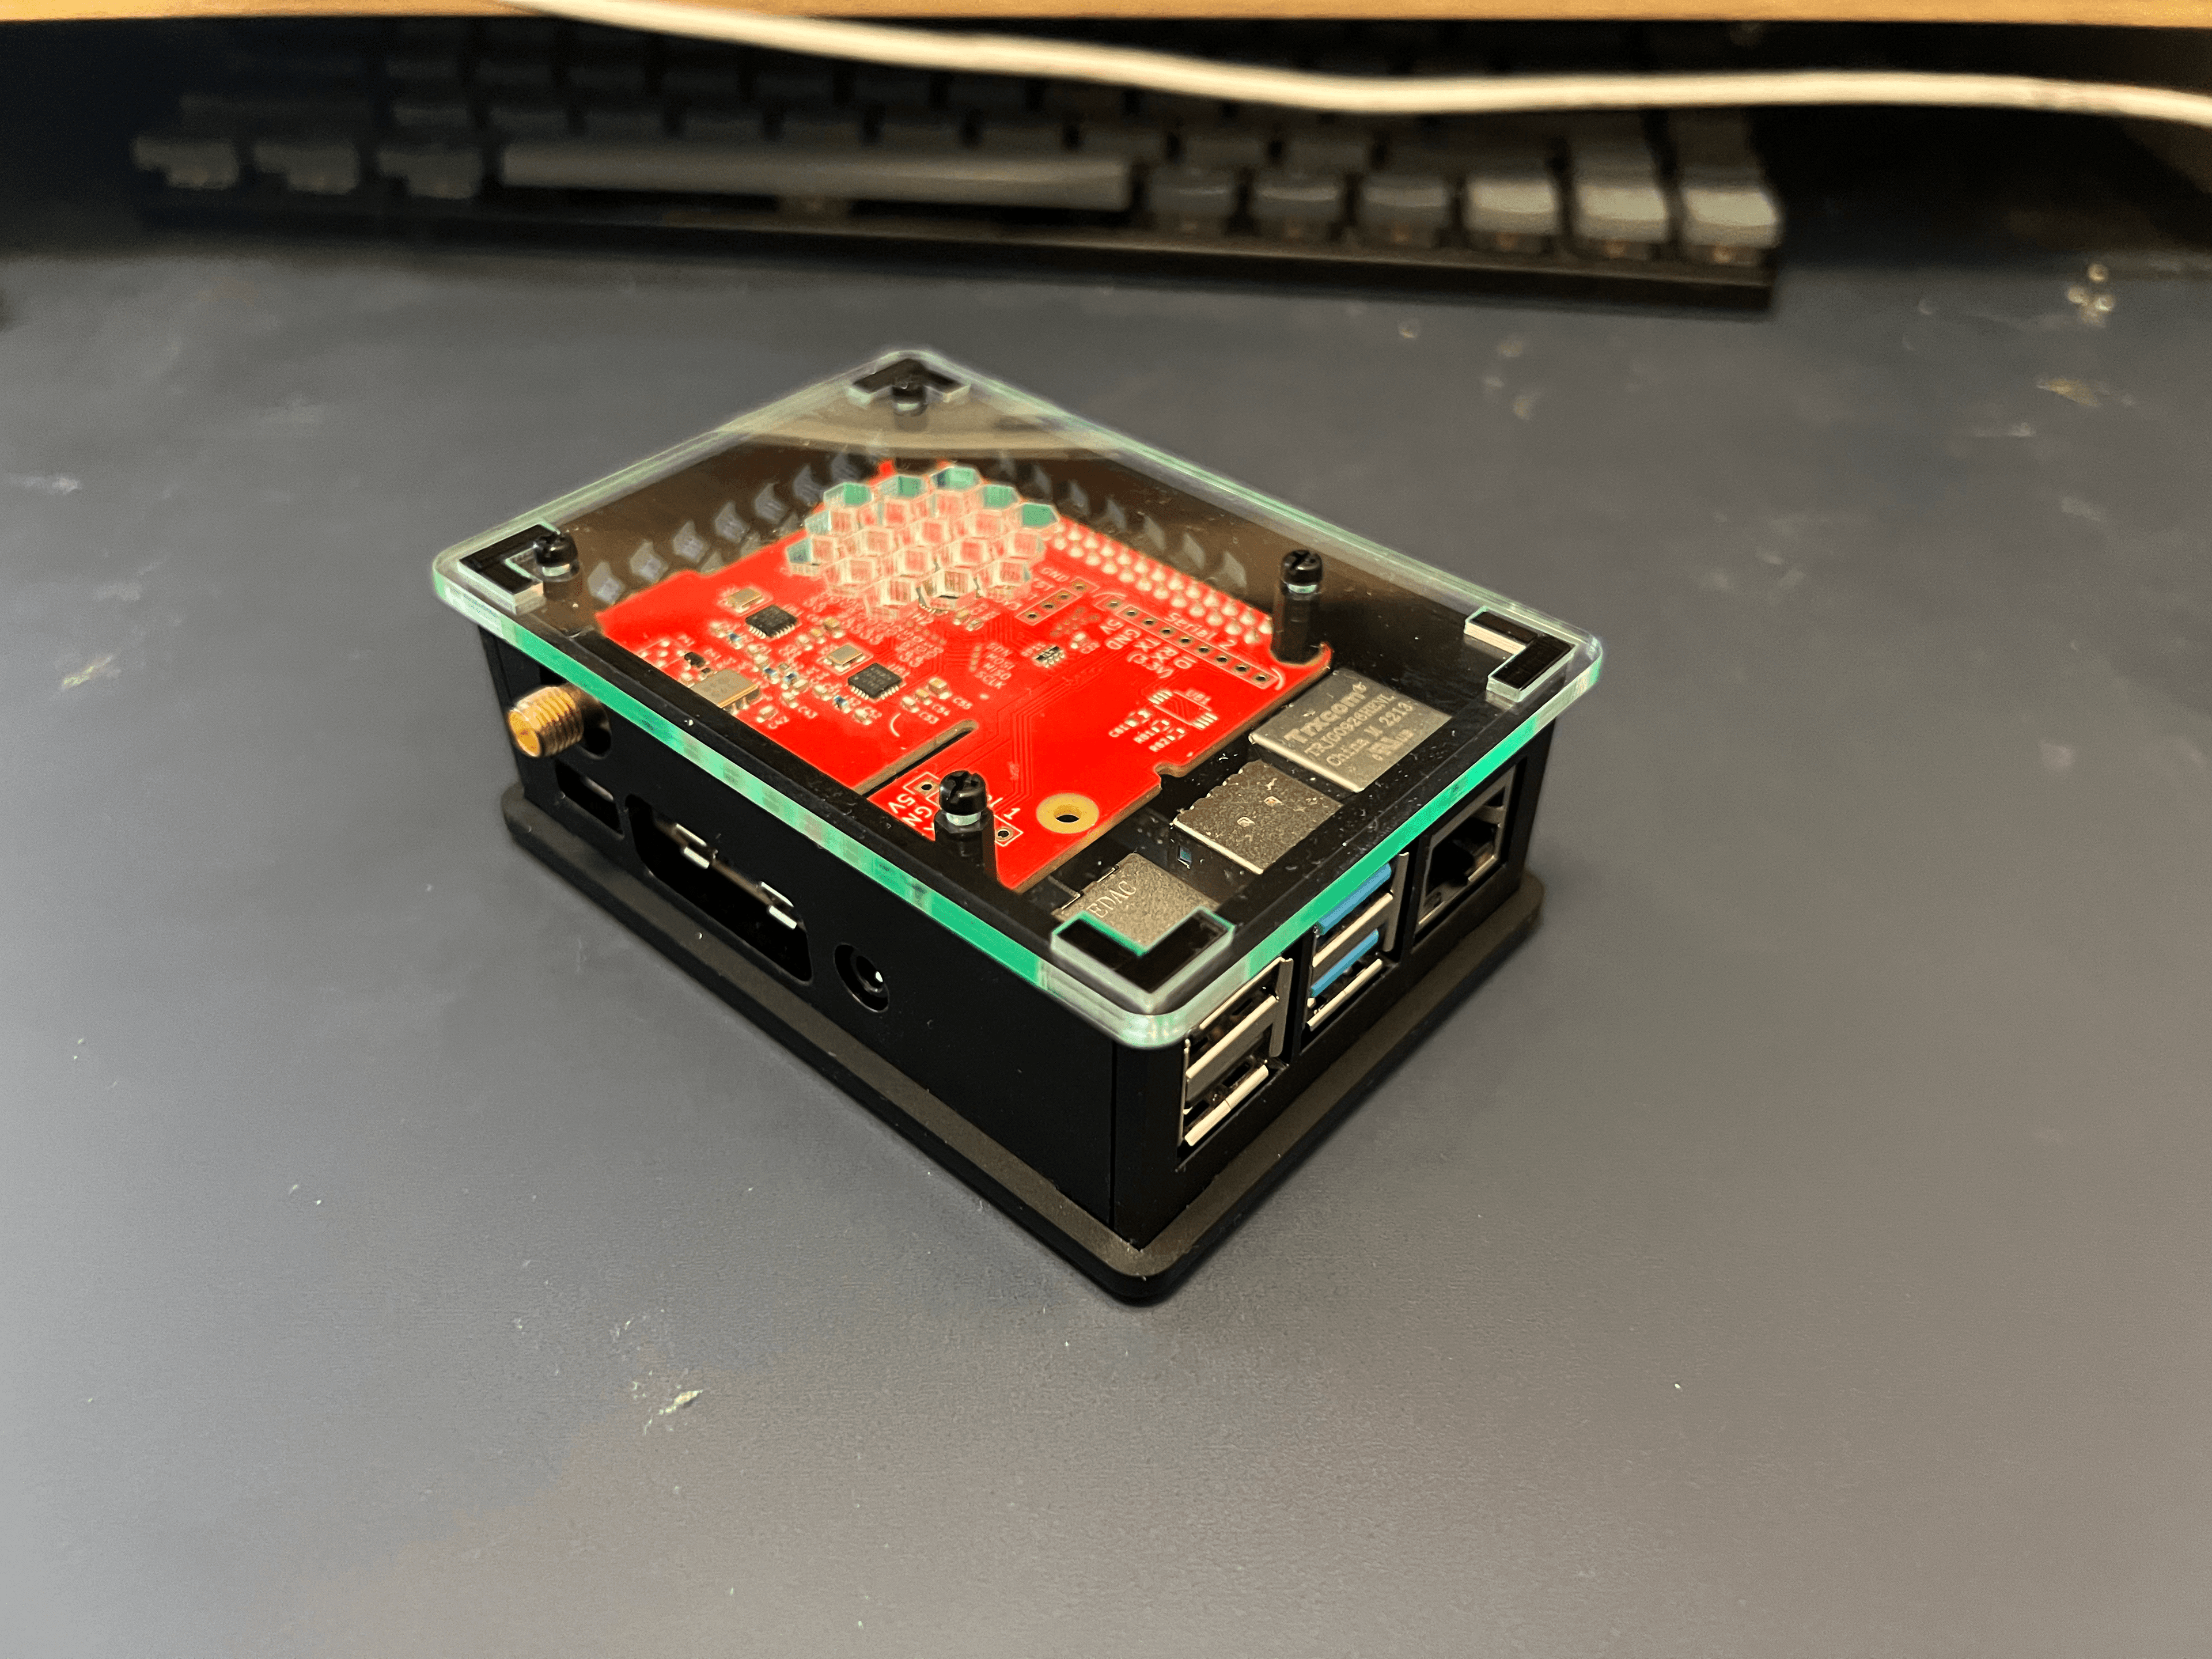
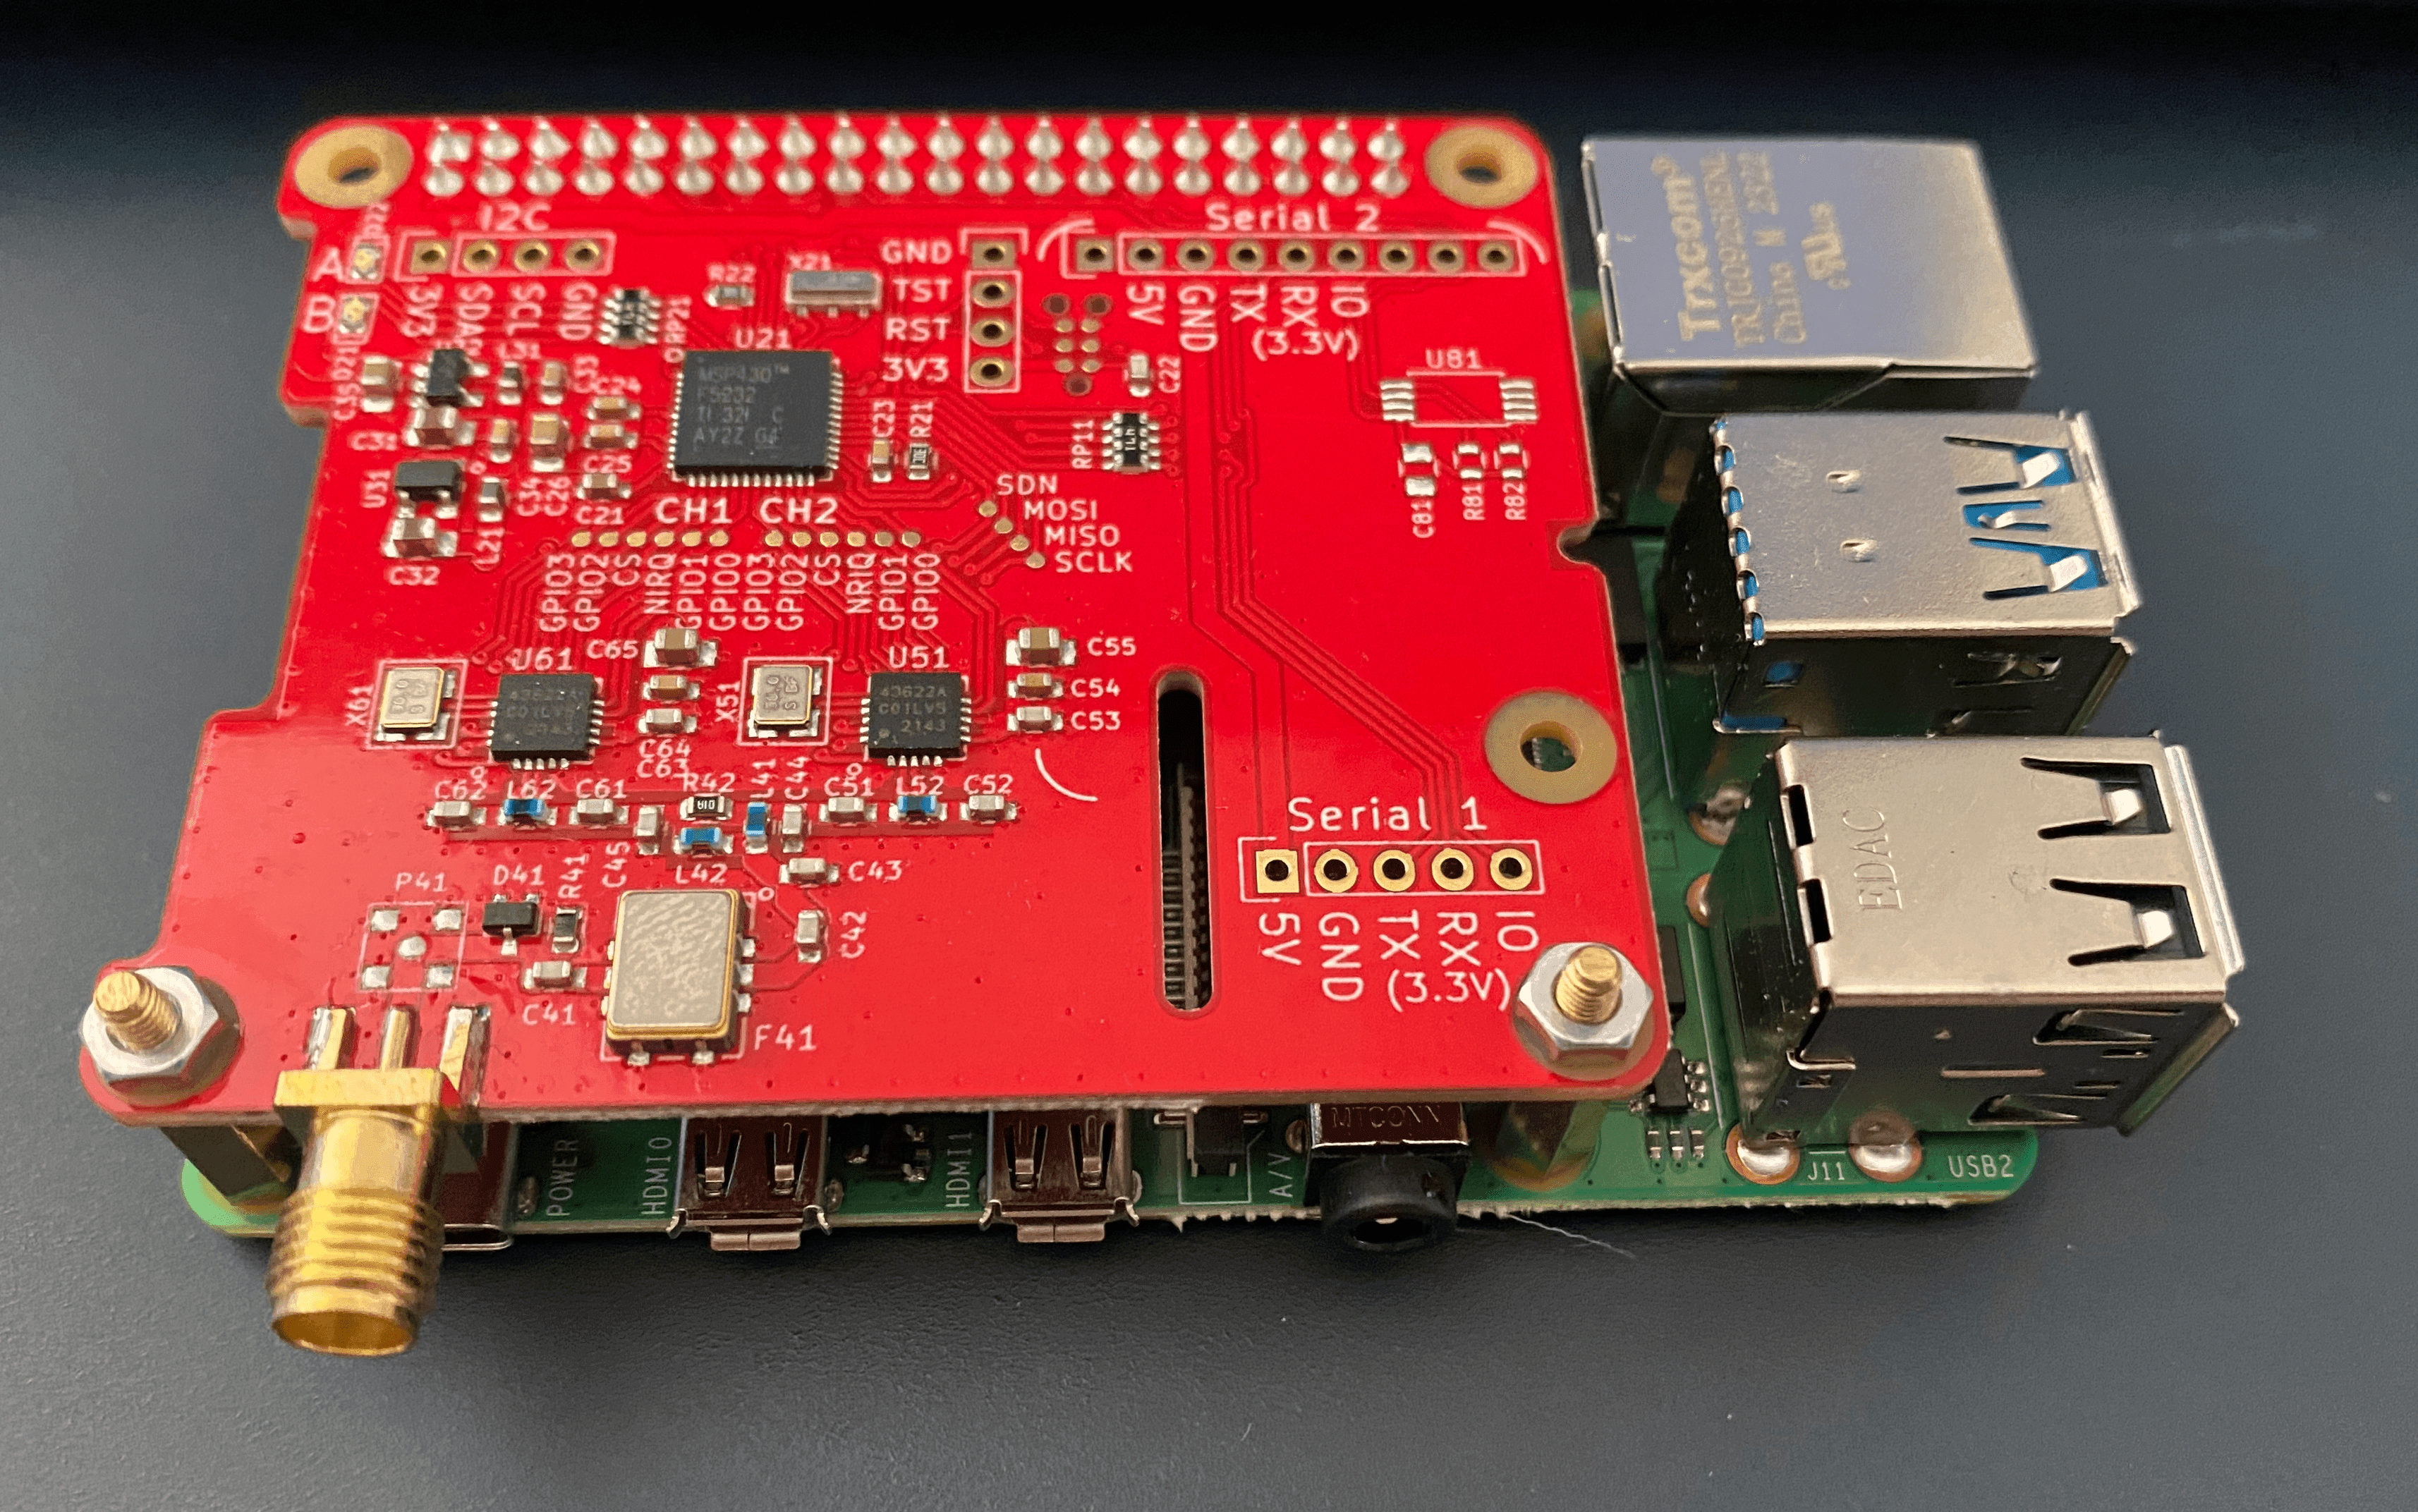
Installing the dAISy HAT on the Raspberry Pi
Attach the dAISy HAT to your Raspberry Pi 4.
Connecting the Antenna
Next, plug your antenna into the adapter, and then connect it to the dAISy HAT.
Setting Up the Raspberry Pi OS
Install the Raspberry Pi OS 64-bit onto your micro SD card using the Raspberry Pi imager. Ensure you configure the installation with your Wi-Fi details or use ethernet, and set up a user that can SSH into the Pi.

Powering Up and Accessing the Raspberry Pi
Insert the SD card into the Raspberry Pi, connect the power supply, and power it up.
Once the Pi is running, SSH into it using the user credentials you set up during the OS installation.
ssh pi_username@pi_hostname.local
Enabling the Serial Connection
- Run
sudo raspi-config - Select "Interface options"
- Select "Serial Port"
- Choose "No" when asked about login shell
- Choose "Yes" to enable the serial port
- Exit out of the config tool
Configuring GPIO Pins
Download and run the GPIO configuration script:
wget https://github.com/itemir/rpi_boat_utils/raw/master/uart_control/uart_control
chmod +x ./uart_control
sudo ./uart_control gpio
sudo reboot now
After the reboot, check that serial0 is listed in /dev with ls /dev | grep serial0. If everything worked correctly, the output should just be "serial0".
Installing AIS Dispatcher
Now, install the AIS Dispatcher with the following commands:
wget https://www.aishub.net/downloads/dispatcher/install_dispatcher
chmod 755 install_dispatcher
sudo ./install_dispatcher
This should start the AIS Dispatcher web interface on localhost at port 8080. You can access this with the hostname you set for your pi in the os step (if you're on the same network as the pi). If you You can log in with the default login of "admin" for the username and password.
Configuring AIS Dispatcher
- Click on "Configuration"
- Change the default password
- Set the input device to /dev/serial0
- Click "Save"
Then return to the home page and hit "Start" in the "System Service" section.
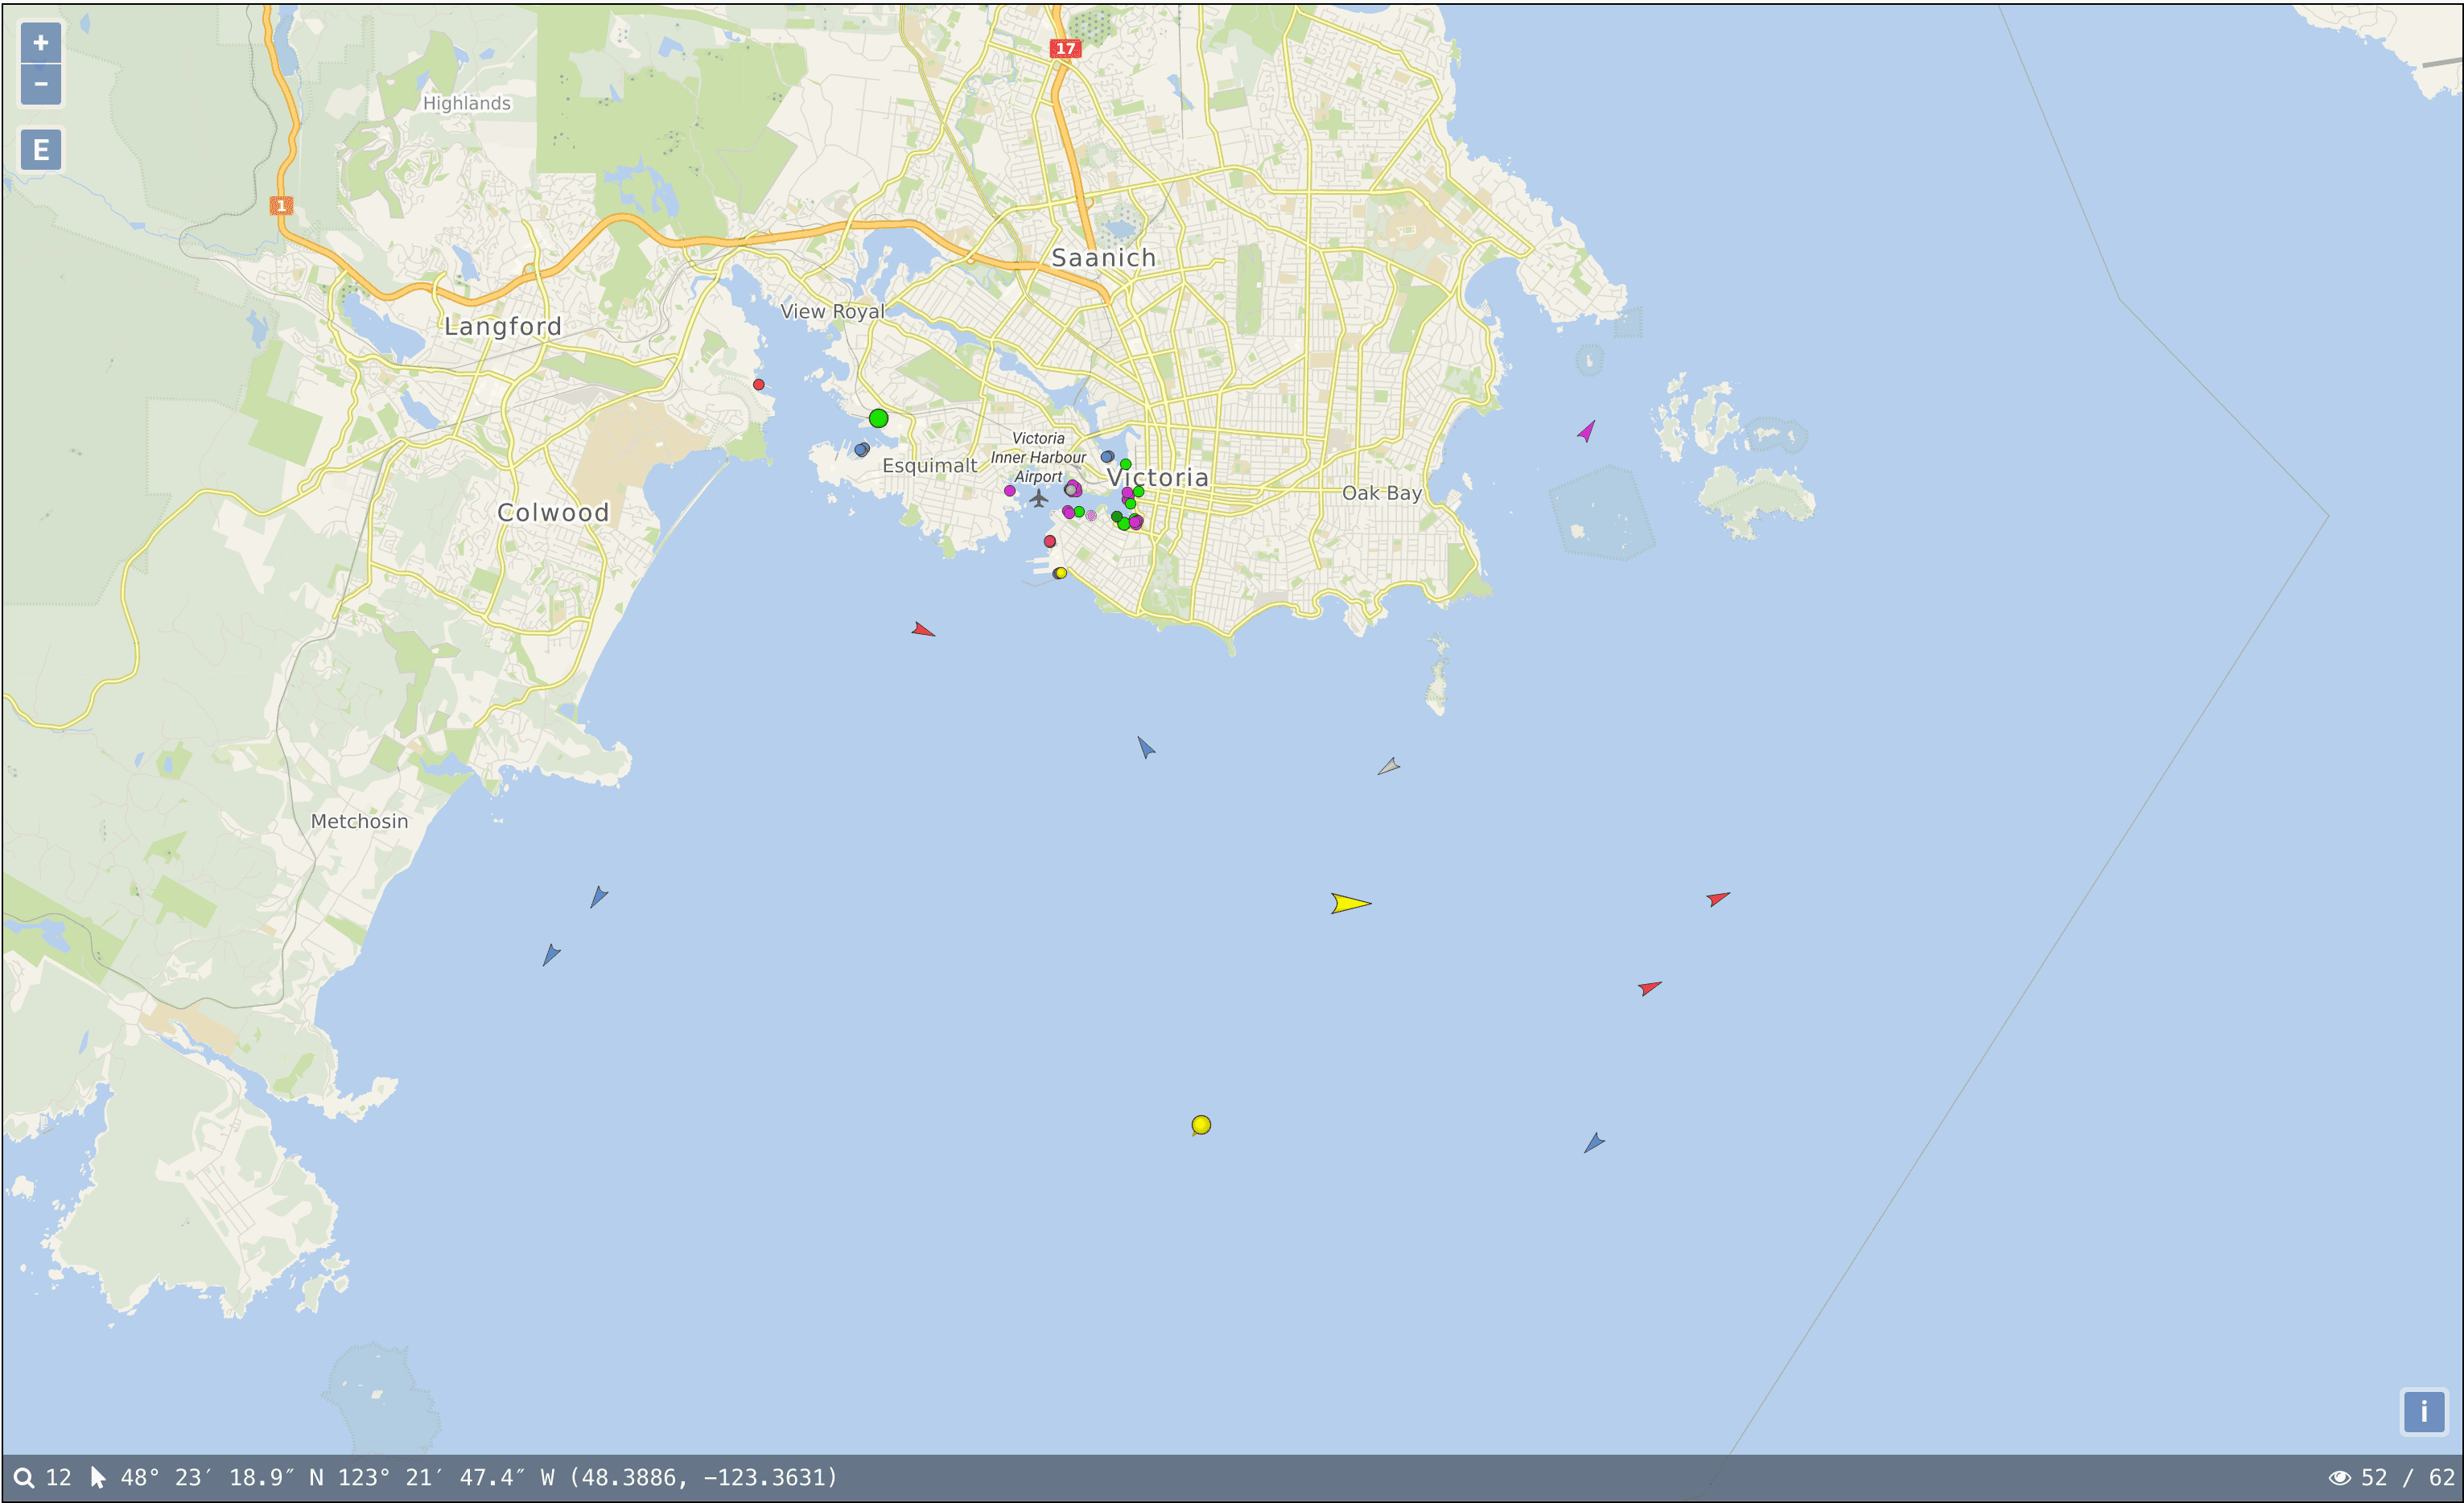
And you're done! You've successfully set up your Raspberry Pi AIS antenna, if you go to the map you should begin to see some ships appear (assuming you're close to the water).
Sam Pratt